
Orbital glyphs, part 2 (12 Months of aRt, May)
June 2, 2019
Remember where we were
This month, I’m picking up where I left off last time. If you haven’t seen my previous work on glyphs, go read part 1 of this story. When we left off, I had written an algorithm that drew two types of glyphs with a lot of randomness such that no two glyphs were the same (ok, technically they could be the same, but the probability is very small). I had some grand plans for those algorithms, some of which I’ve achieved, and others are, shall we say, sidelined.
Jazzing things up
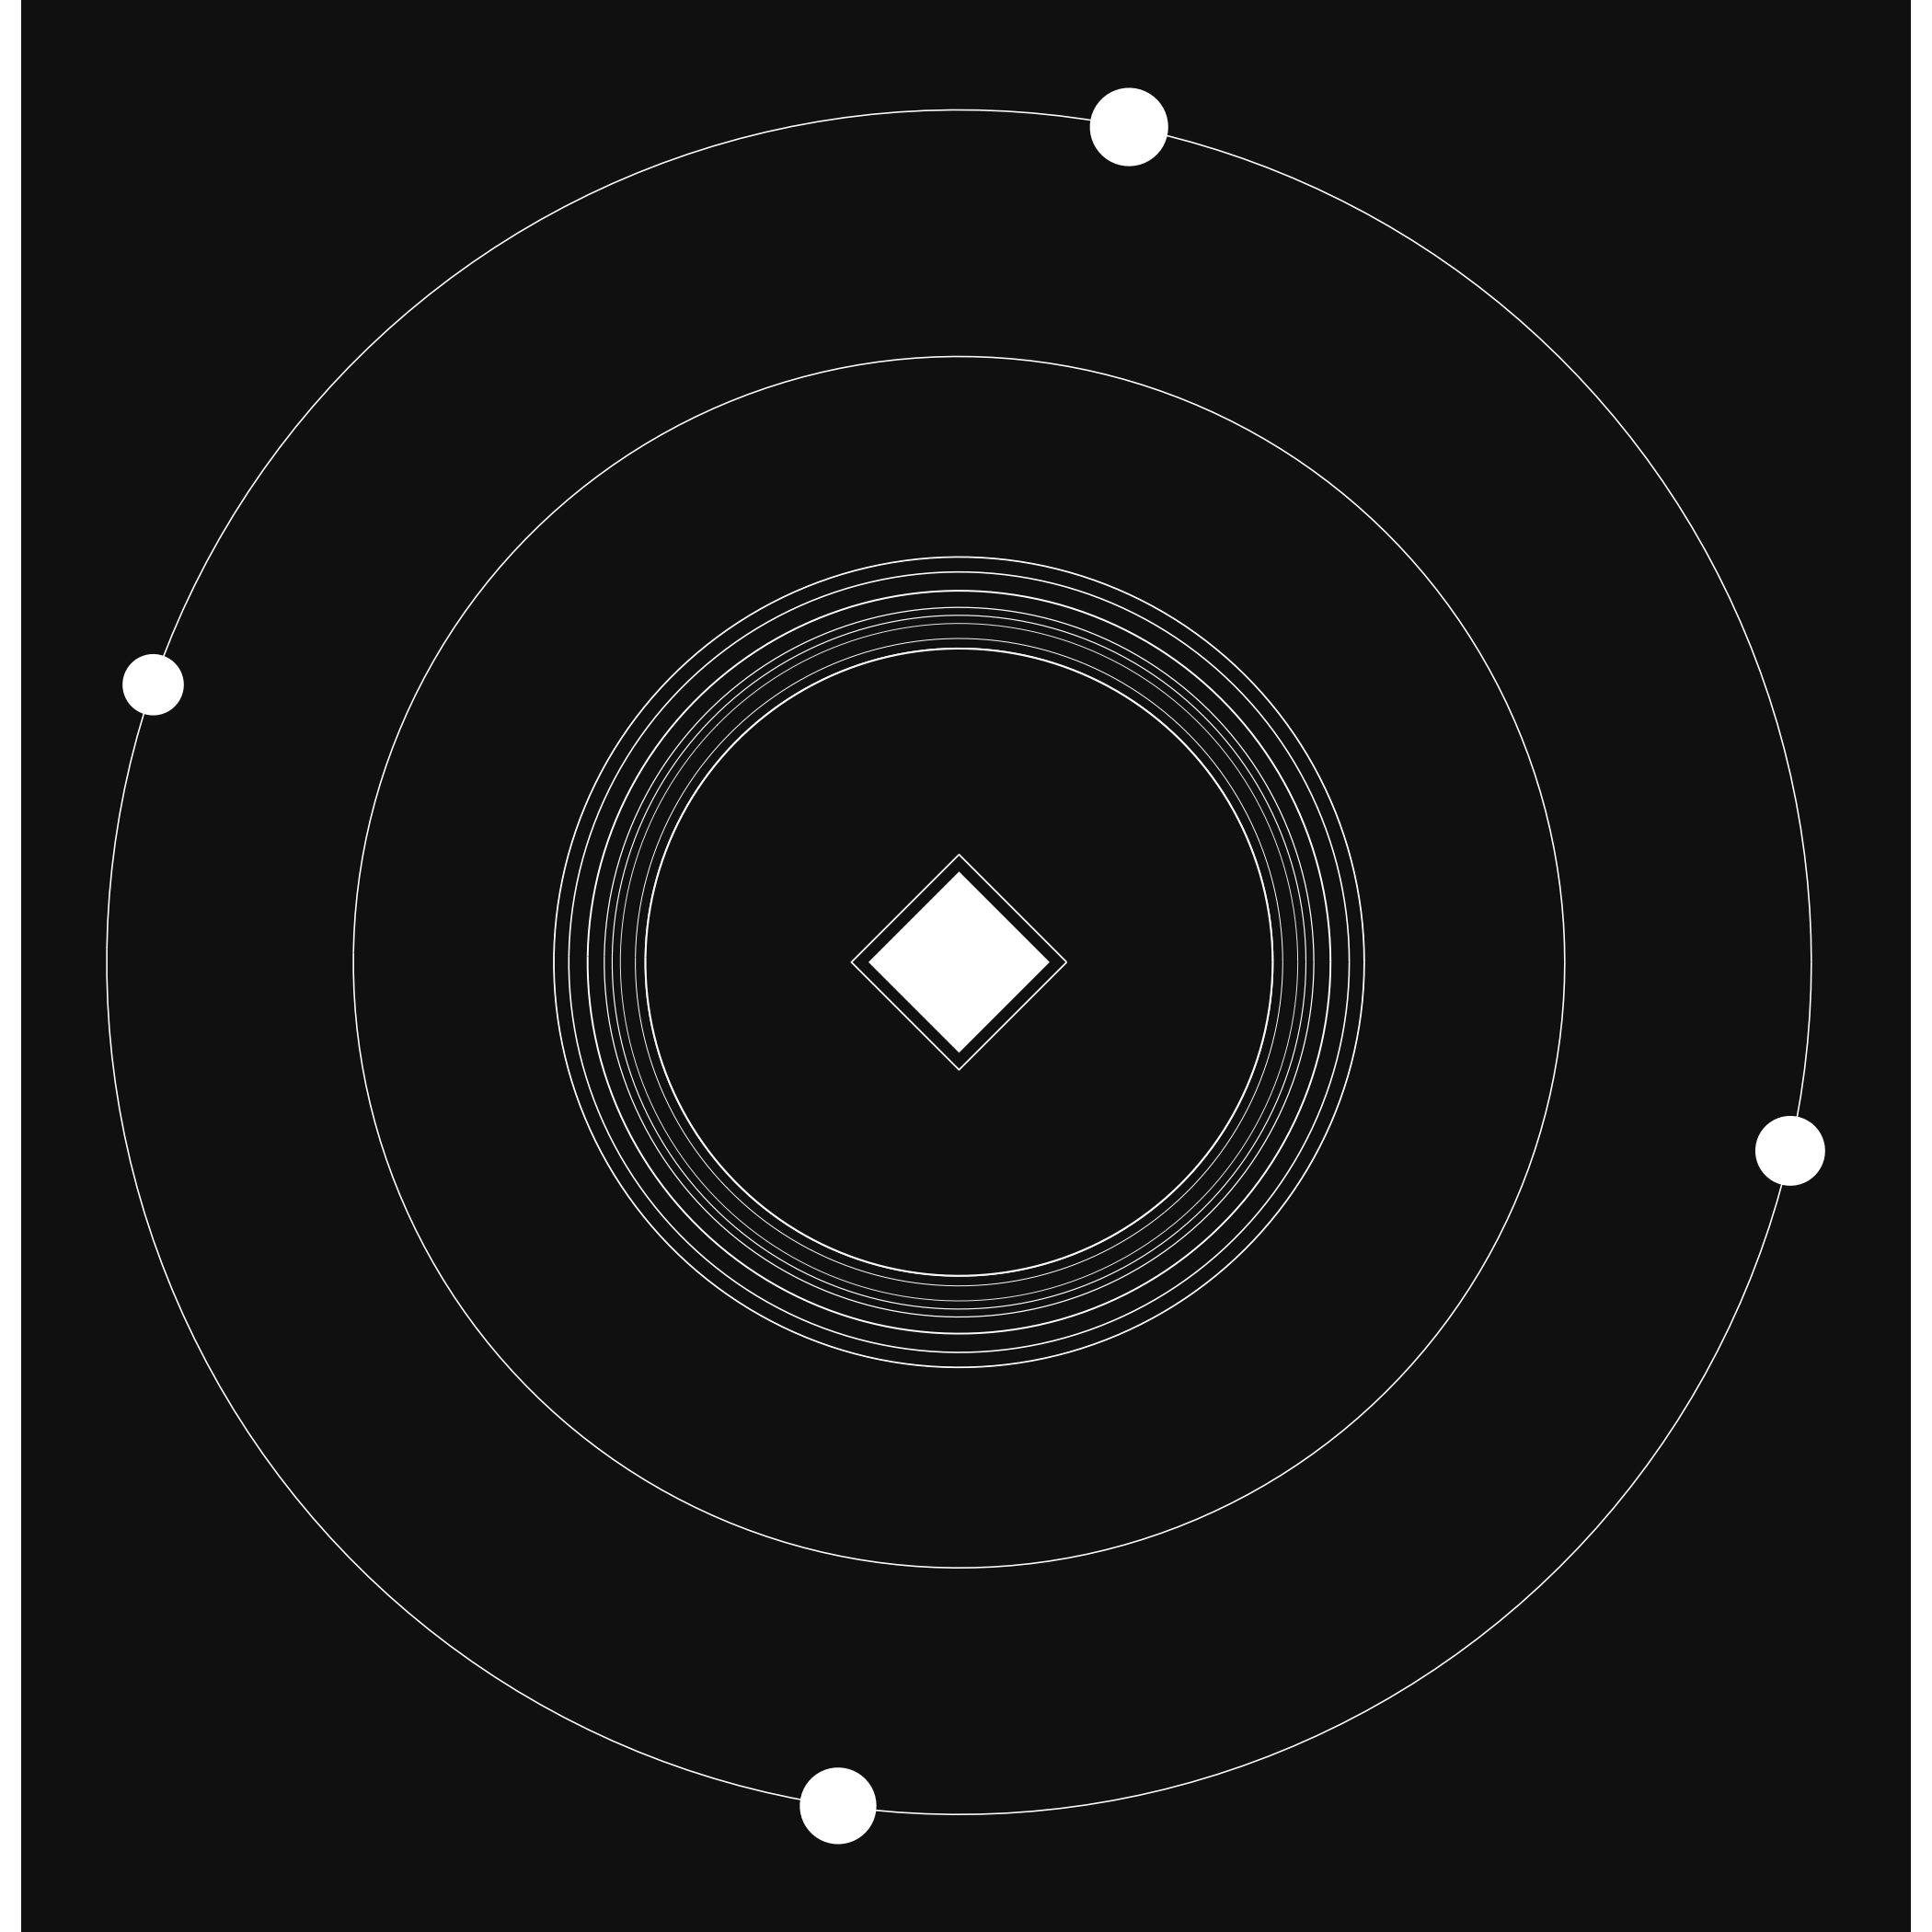
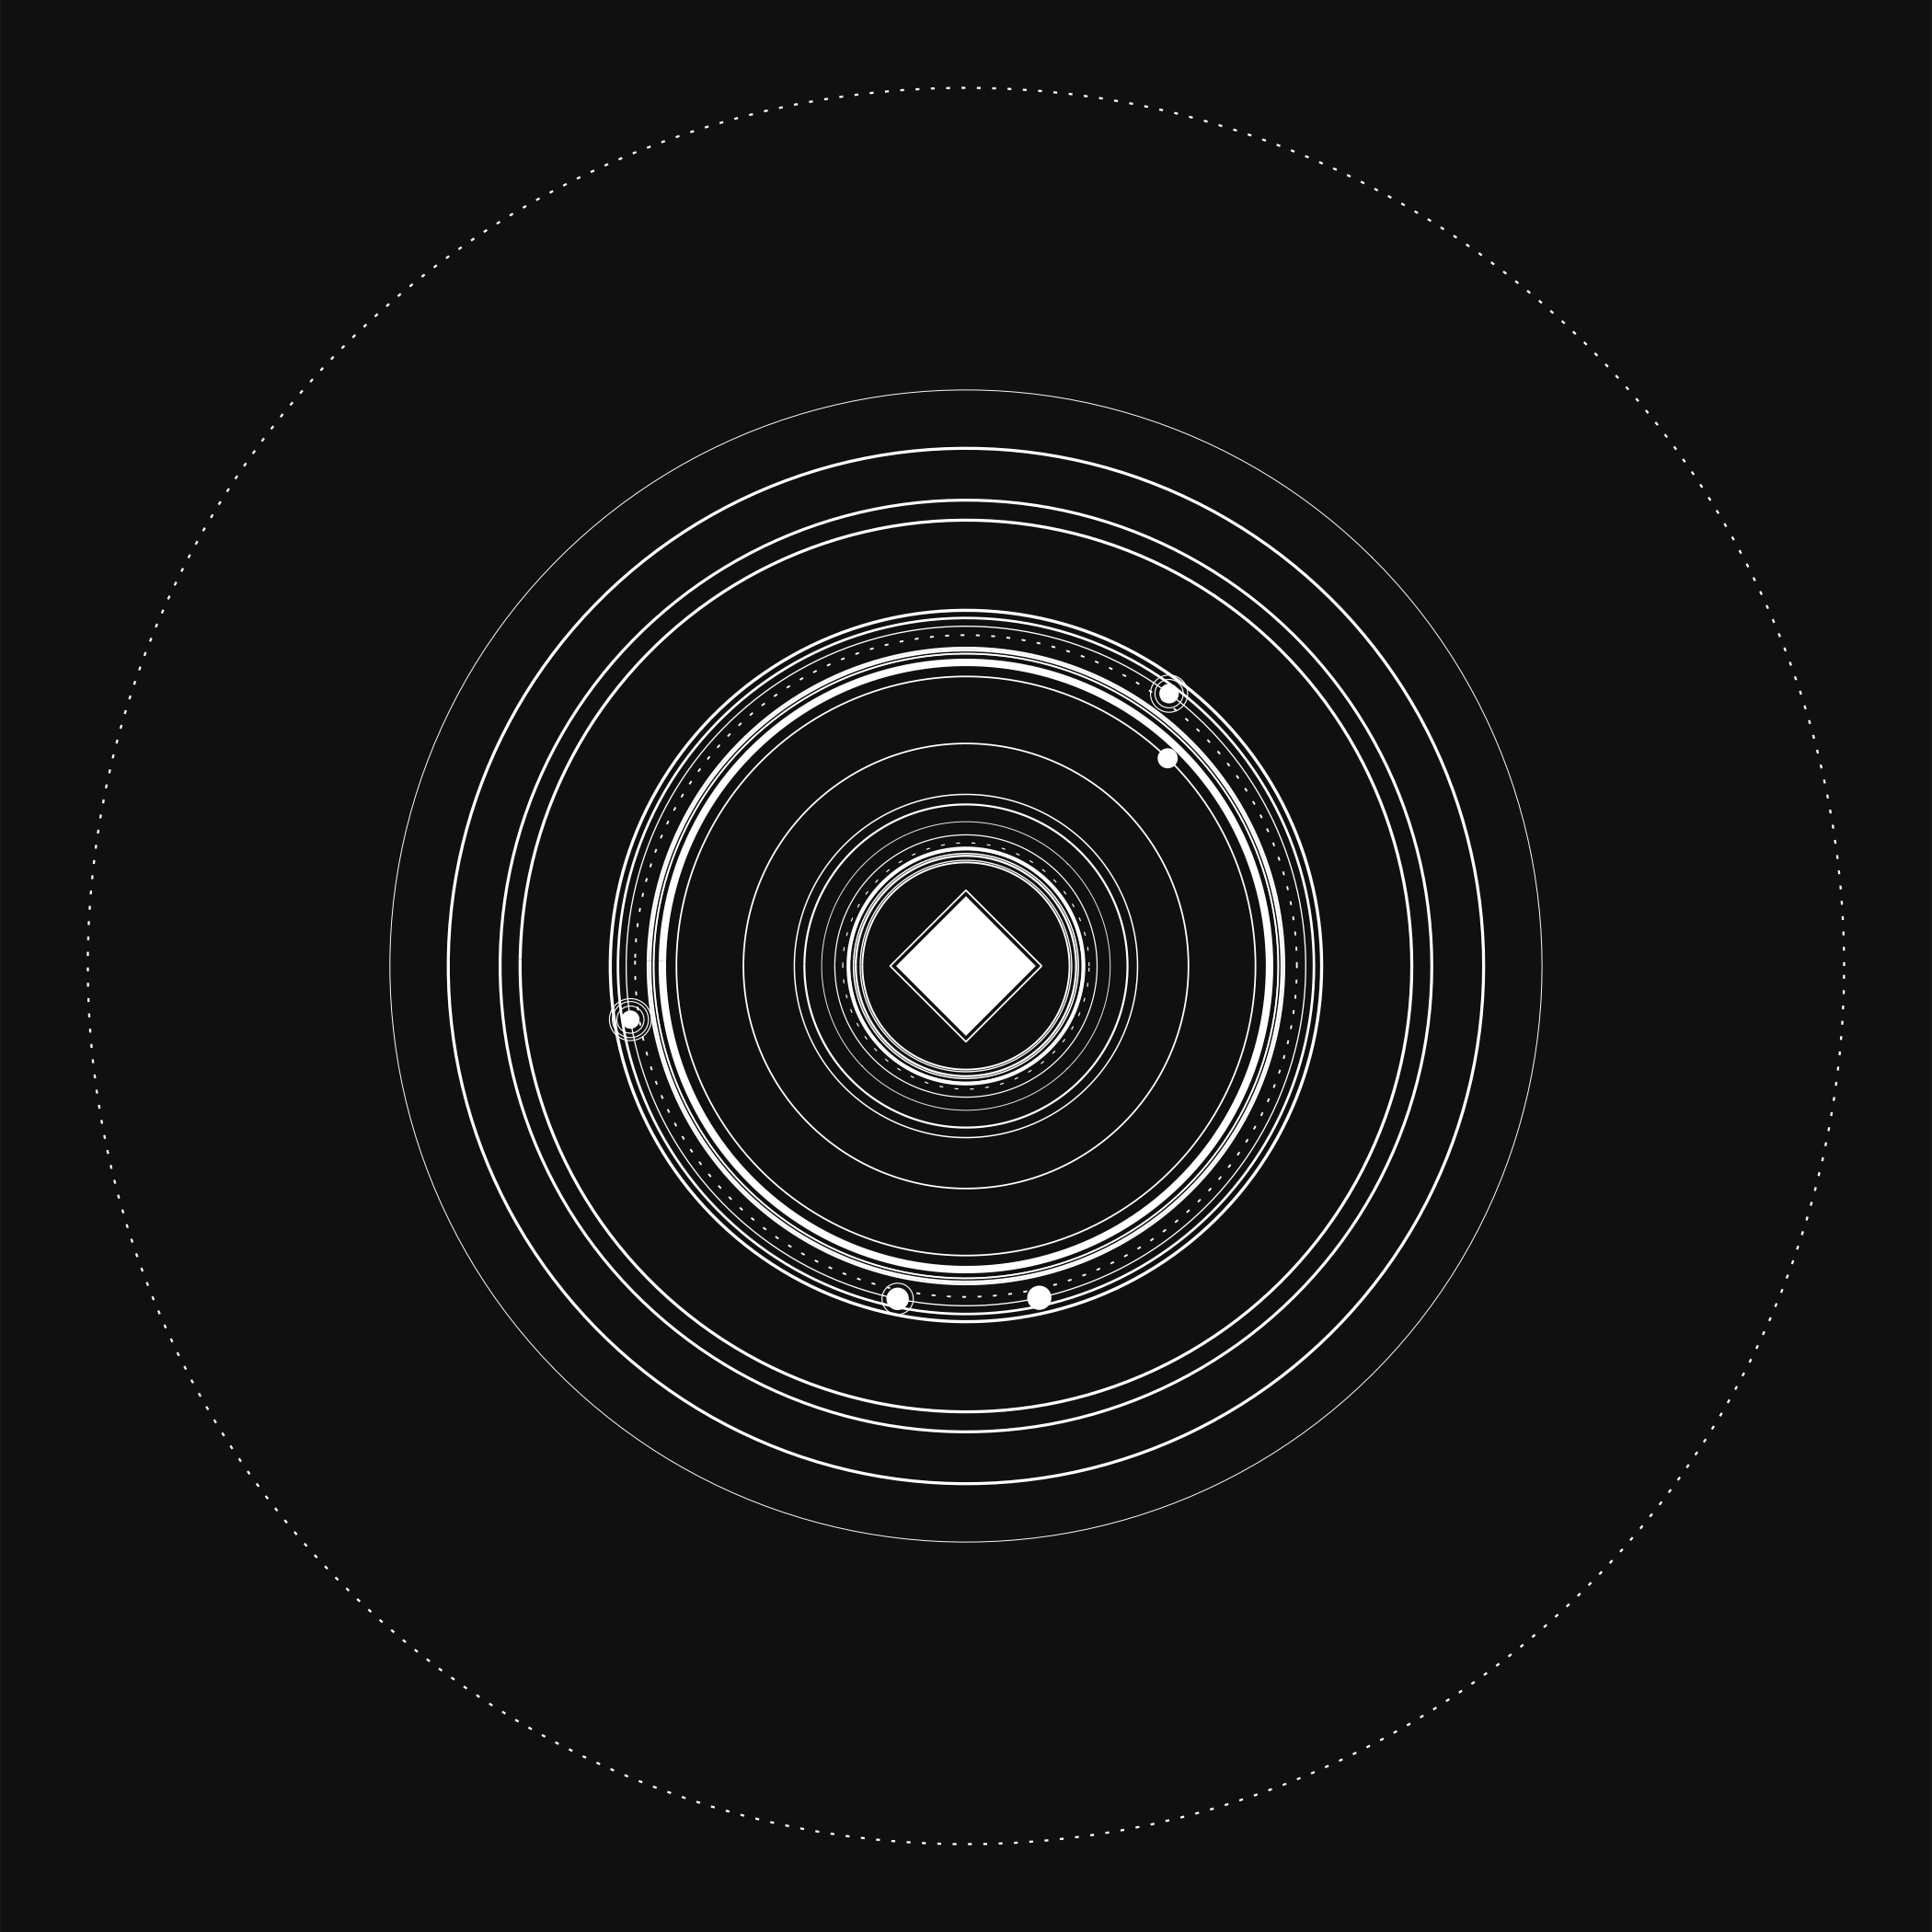
Our first order of business was to give my “orbital glyph” algorithm some much needed love. The original algorithm was quite spartan, and while I was proud of it for the technical achievement, the visuals didn’t really wow. For the refresh, I upped the ante by throwing some more orbits into the mix. I chose a pareto distribution to sample a set of radii that would produce the new orbits. The pareto distribution is quite tunable using the shape parameter, and it can produce a nice distribution with many small values and few large to medium values, which works well for filling out the orbits in our glyph.
Glitching out
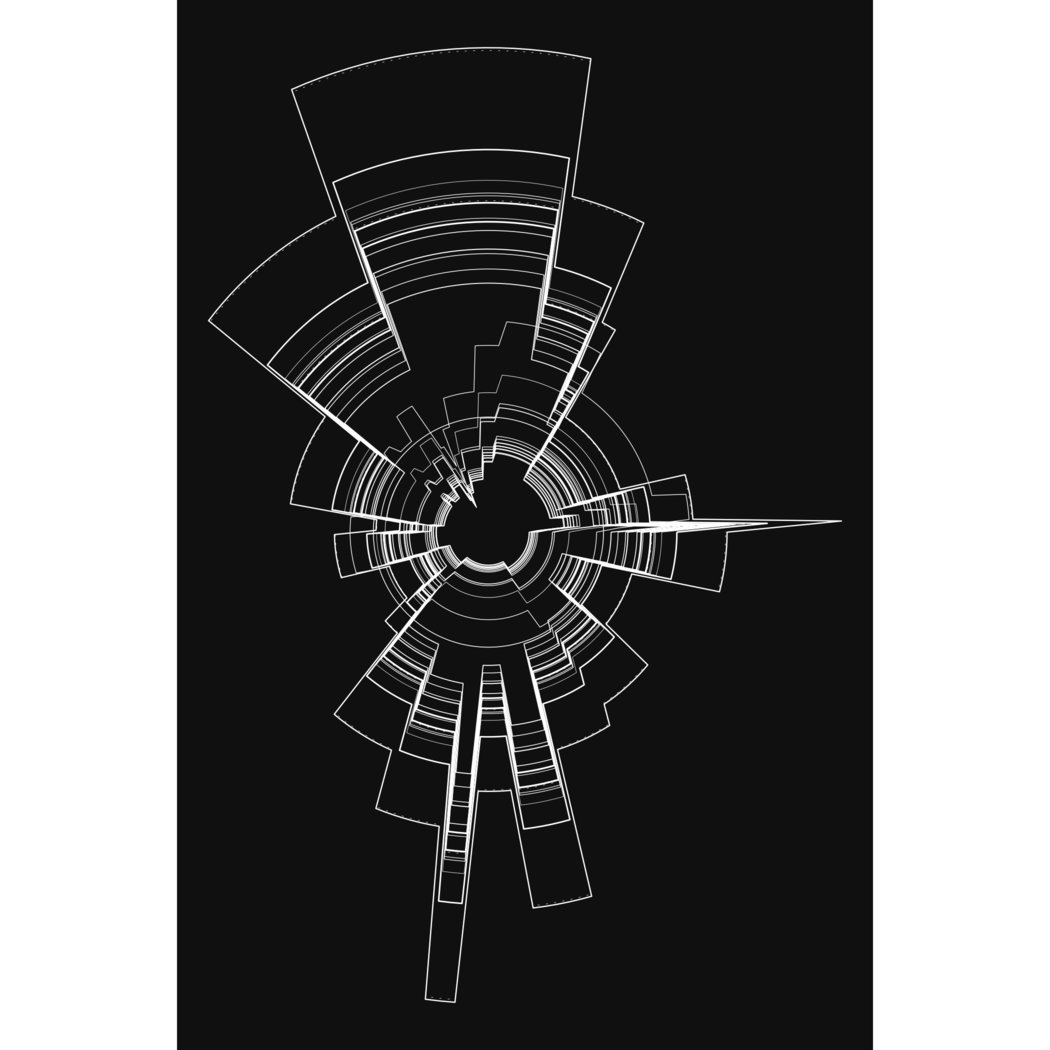
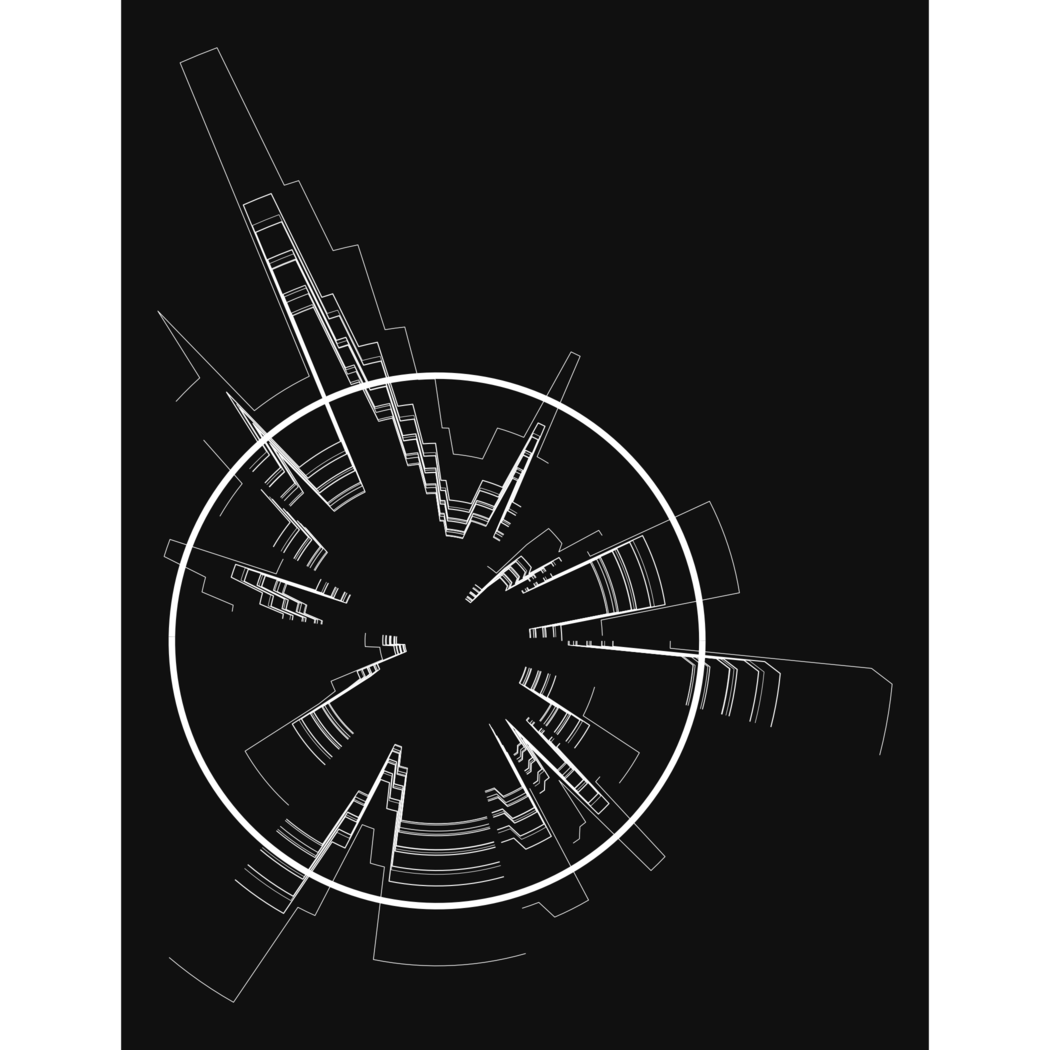
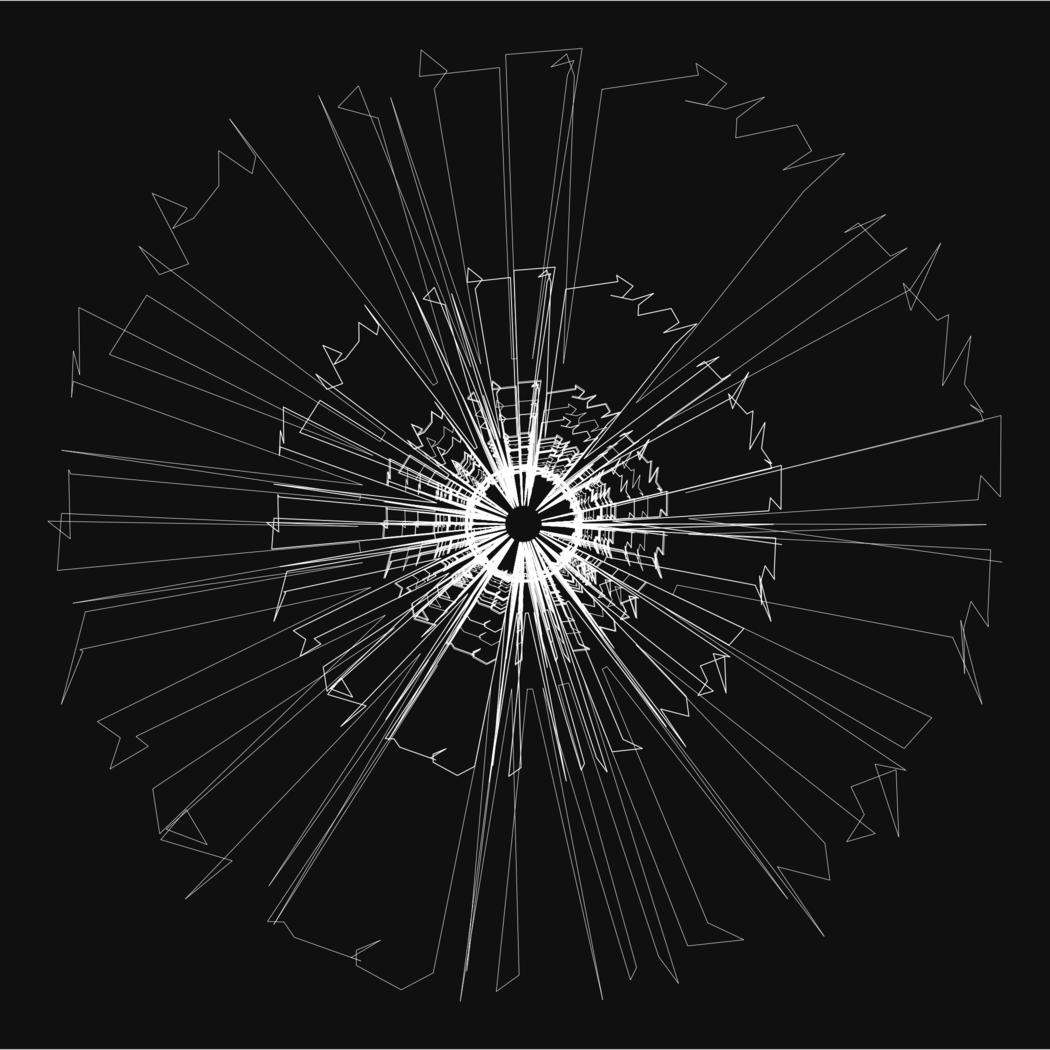
Next on the docket was something that’s been in my mind since the very beginning of this project. While the original glyph algorithms are nice, they produce something that’s so symmetric that it is limited in the “interest ceiling”. What this means is that the more of these you generate, the less interesting they become (in my opinion). There’s a ceiling to how interesting these can be, but we can break through that ceiling by messing with the perfect shapes we’ve spent so much time creating. I call this “glitching” the glyph by introducing various types of imperfections. To introduce these glitches, I sampled portions of the orbits, and recalculated these sampled arcs after increasing or decreasing the original radius. This leads to a type of glyph made up of concentric circles that have regions that are jutting out, and others that are sunken in compared to the original. There’s two types of ways to draw these shapes, either leaving each ring as a single group, which keeps the lines connected (the “connected” glitched glyph), or by giving a separate group to each adjusted arc, which will plot them as disconnected segments (the “shattered” glitched glyph). After implementing these, it was fairly easy to tack on a third type of glitch, which does essentially the same thing, except instead of sampling arcs, it just samples points. This gives the effect of creating spikes in the orbits (“spike” glitched glyph). The spikes can also have some jitter in their point position, which allows quite a variety of shapes.
How to make your own glyphs!
The implementation of this was… tricky. This project happened during an incredibly busy time for me, so the codebase is really a house of cards, ready to fall at any moment. The good news is, you don’t have to interact with the code because I turned the whole thing into a package. It’s now super easy to produce your own glyphs by just calling orbit(), summon(), or orbit_glitched(). And as an extra-special bonus, I built an Rstudio addin that will launch a Shiny app that serves as a graphical user interface for the package. You can launch the addin and use it to tweak all the parameters, generate glyph after random glyph, and when you find one you like, download it as an image.
Packaging this all up and creating an app with a dynamic UI sucked up a lot of time, so I’ve still got a lot of things on my list for this project. I can’t say if I’ll get to them next month or leave them for later, but I hope you give the package a try and let me know when (not if) you find bugs. The parameters are quite tunable, and there’s lots of randomness built in besides the parameters you can control, so I’m excited to see what you can make with this package!